The Question:
I’ve started using the Leads App, but I haven’t done any sort of configuration. Could someone explain how to configure the app, and what might help me manage my leads better? Any help is appreciated!
The Answer:
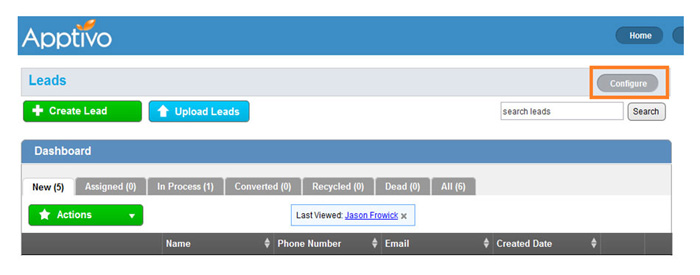
The leads app has several groups of configuration settings that allow you to adjust the way the app functions.To configure your Leads App, start off by logging in and clicking on the Leads App in your app dashboard. In the upper right corner of the leads dashboard, click on the “Configure” button.
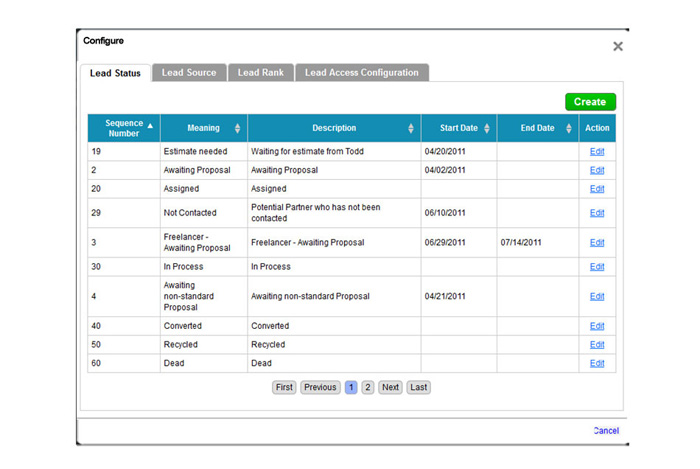
A popup will appear with three tabs, now we’ll go through each tab and adjust the settings:
- Lead Status
- Every lead will be assigned a status when created. Here you can adjust the statuses that are available within the app. To disable an existing status, click the edit button, and then set the end date to today. You can also add additional statuses by clicking the create button in the upper right corner.
- Every lead will be assigned a status when created. Here you can adjust the statuses that are available within the app. To disable an existing status, click the edit button, and then set the end date to today. You can also add additional statuses by clicking the create button in the upper right corner.
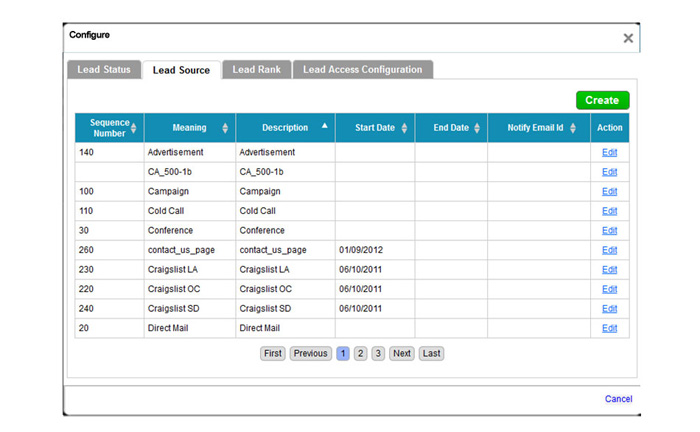
- Lead Source
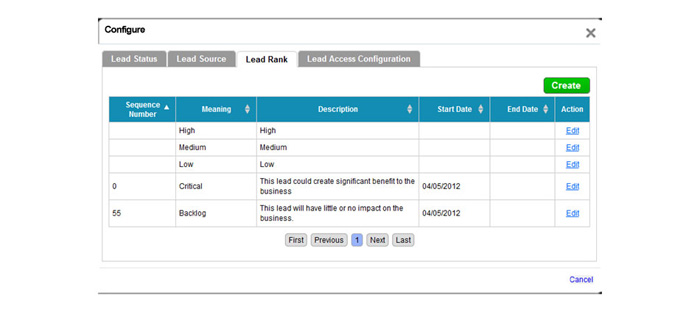
- Lead Rank
- Lead Access Configuration
Back to Getting Started page
Latest Blogs
Apptivo's Integration with Amazon SES for Outgoing Email Server
Amazon Simple Email Service (SES) is an email platform that provides an easy, cost-effective way to send and receive email using your email addresses and domains. Apptivo has migrated its email service to Amazon SES (Simple Email Service) to enhance the performance and reliability of our email services
Read more →
EXPLORING MULTI CHANNEL CUSTOMER SUPPORT SOFTWARE
1.What is customer service software? 2
Read more →
Maximize your business performance with seamless CRM Integration
1.What is CRM Integration? 2
Read more →